
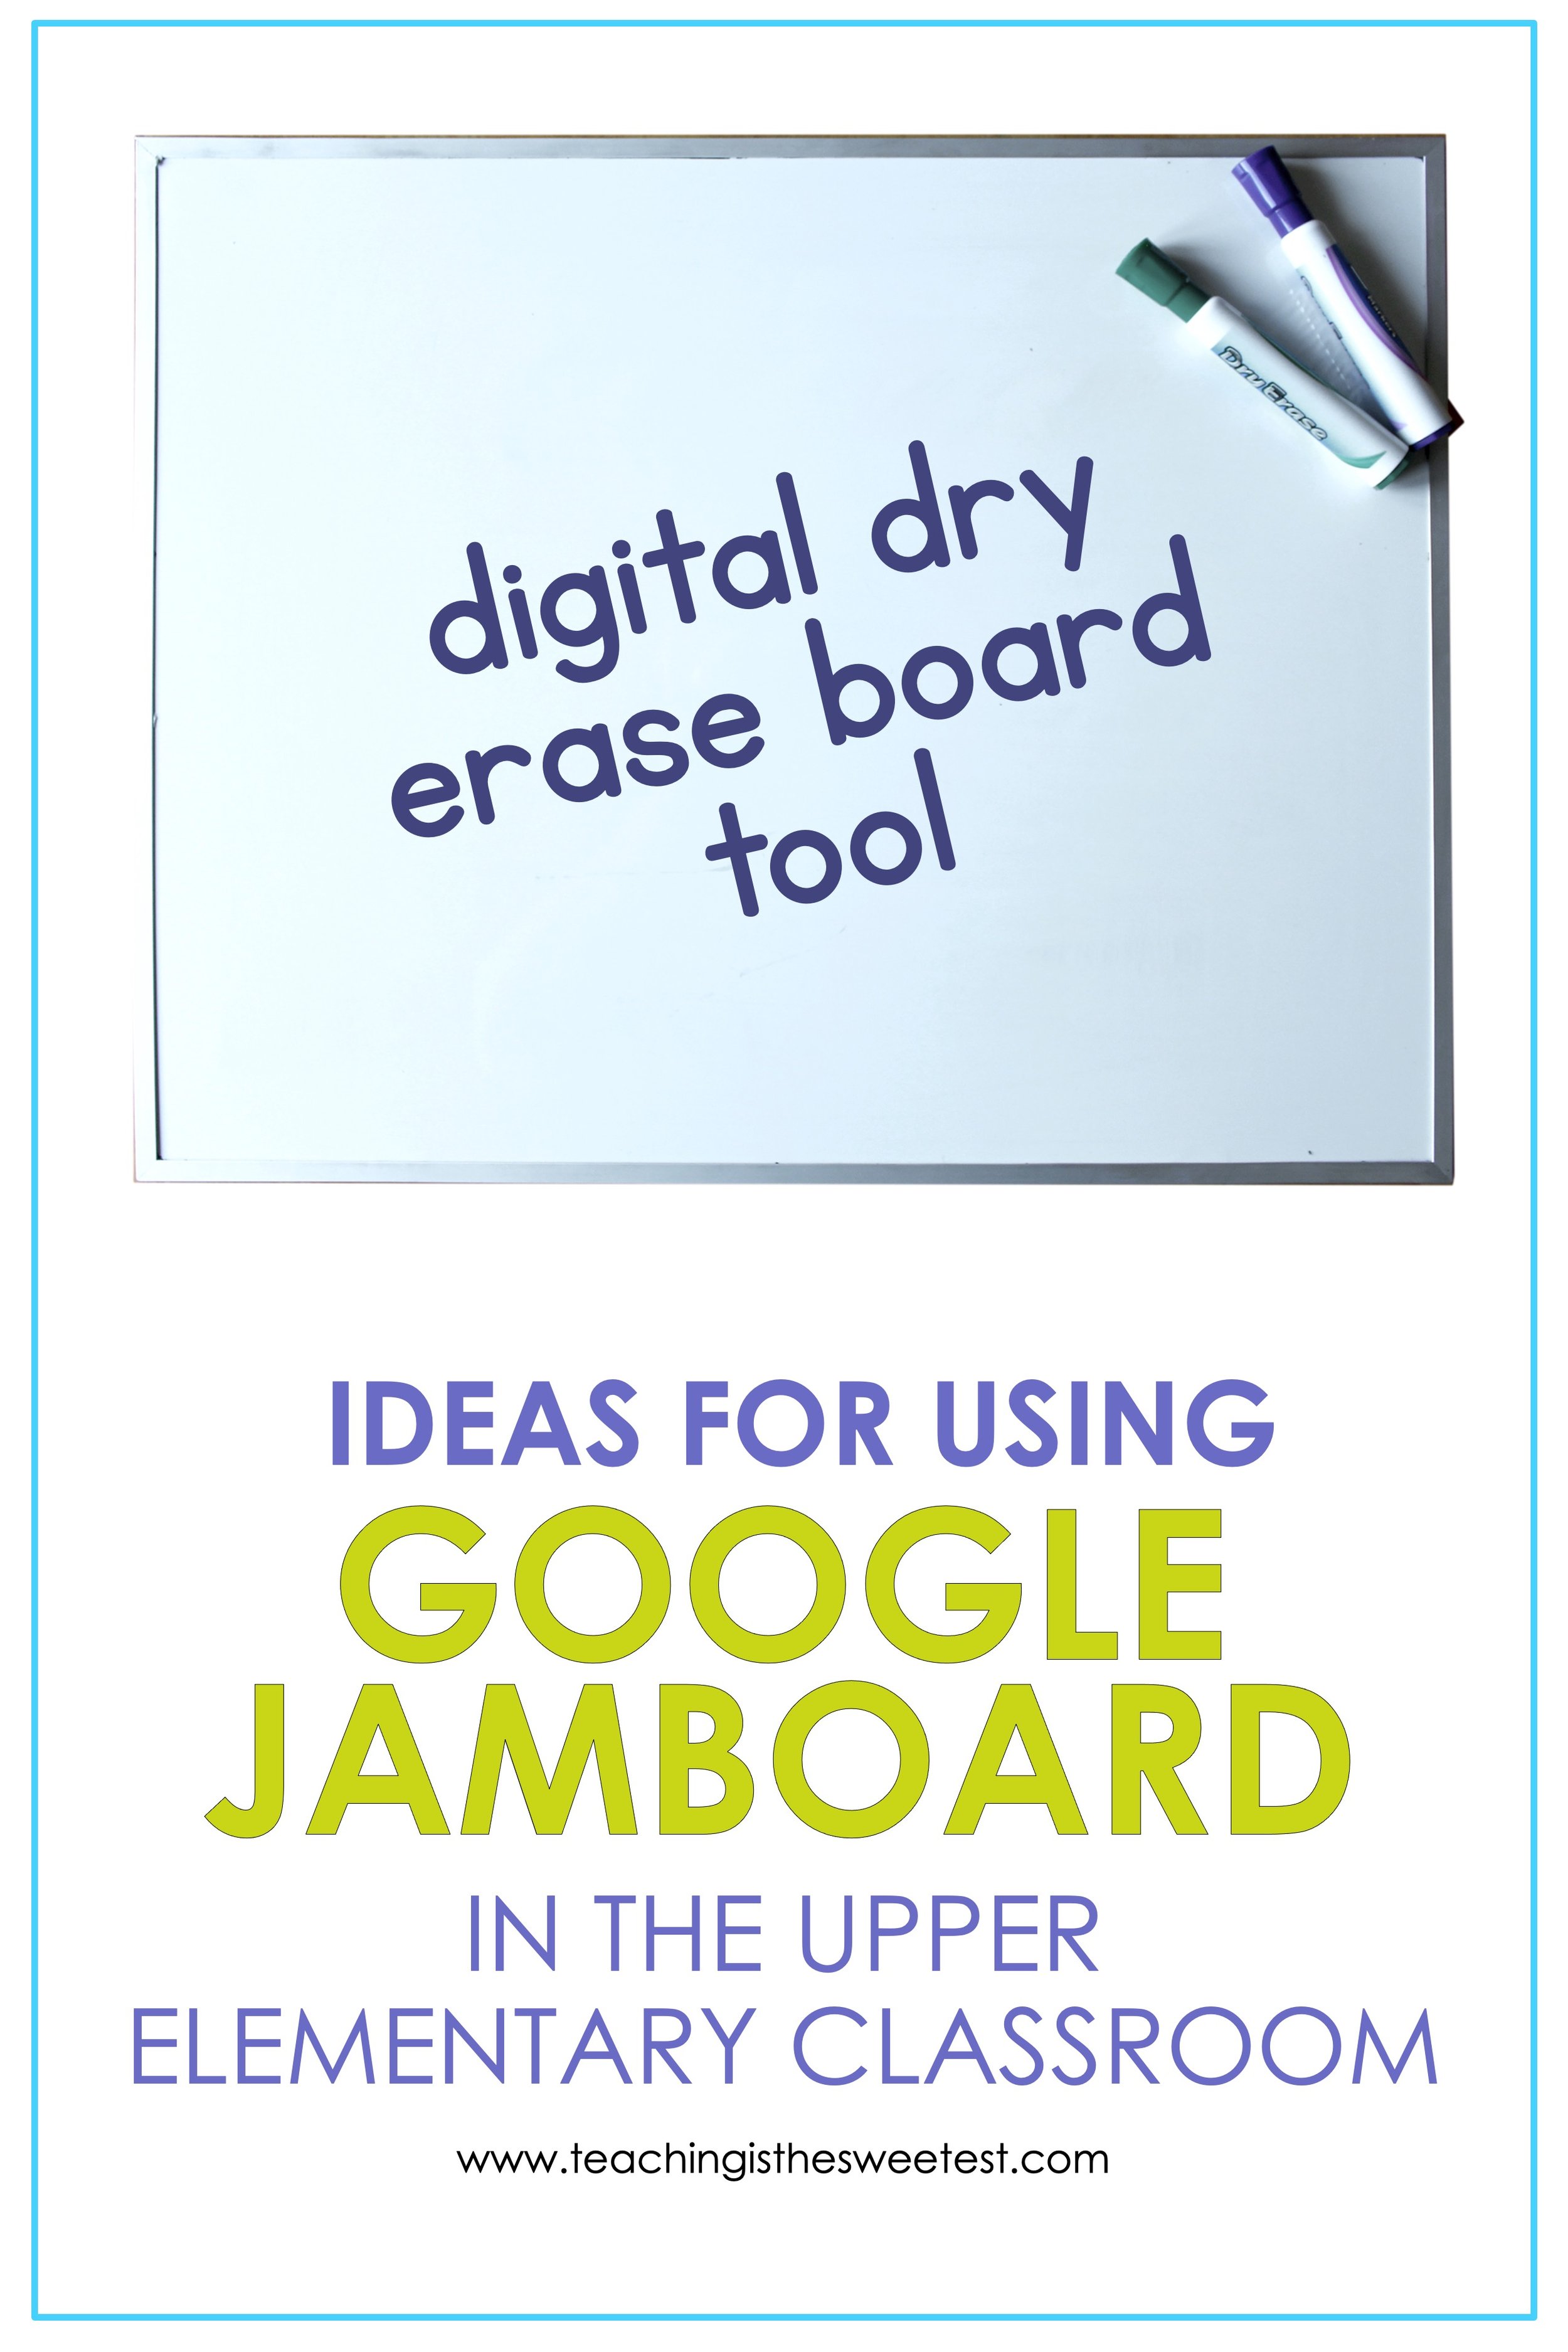
Ideas for Using Google Jamboard in the Upper Elementary Classroom
If you know anything about Google Jamboard, you know that it’s a simple yet powerful tool for digital teaching and distance learning. (If you don’t know anything about it, check out the simple guide to getting started with Google Jamboard and then the guide to sharing jams with your students.)
Once you know your way around it, you’ll probably start looking for creative ways to use Jamboard. I’ve got you covered. Check out this list of creative ideas for using Jamboard in the upper elementary classroom.

Morning check-in: Type a question in a sticky note or text box. Have students respond by adding their own sticky notes. Once your students are more familiar with Jamboard and know how to add images, have students post an image to respond to a question. For example, you could post a sticky note with the question, “How Do You Feel Today? Post an image to show your answer.”
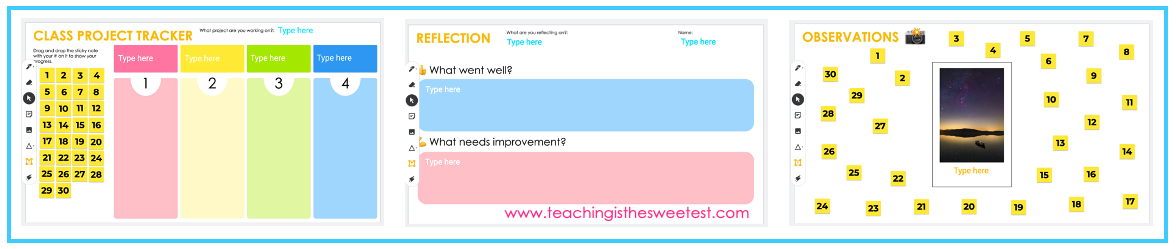
Record observations: Add an image to the Jamboard. Have students record their observations by adding sticky notes around the image with their comments.
Create a digital scratch card: This could be used as a behavior reward system or a fun countdown. Create one sticky note for each reward or surprise you want to include. Arrange them throughout the jam. Then, use the marker tool to scribble on top of each sticky note in the shape of a circle to cover the words. When a reward is earned or at the beginning of each day in the countdown, students can use the eraser tool to erase the scribbling to reveal the reward or surprise.
Make inferences or predictions: Add an image to the Jamboard. Students type their inferences and predictions on sticky notes.
Demonstrate work: There are a handful of ways you could use Jamboard to demonstrate work.
Teacher demonstration of work to the whole class —> Type or write the equation on a panel. Have your students watch as you work to solve a math equation.
Student demonstration of work to the whole class —> You can also allow individual students to volunteer to demonstrate solving an equation as the class watches. [If you’re tech-savvy, check out the Google Chrome plug-in “Equatio” to go even further with having students solve math equations within Jamboard.]
Student demonstration of work to the teacher —> Create an individual workspace for each student: Create one jamboard for each student. Create one template (see the pro tip in #3 above) then make copies for each student. Your template could be as simple as a blank jamboard with 5 panels and 1 sticky note on each panel - Day 1, Day 2, Day 3, Day 4, and Day 5. Each day, students could show their work for the problem of the day in the matching panel.
Monitor students’ work simultaneously: Create one frame for each student. Add a text box at the top of each frame to label it with one student's name.
Pro tip: Before you go any further, create a template of this file so that you don’t have to repeat the steps you just took to make and label a frame for each student in your class. You can do this by clicking the 3 dots in the upper right corner. From the dropdown menu, select “Make a copy” then title it something like “Individual Student Frames Template”.
Then, from within this file, each student can complete his or her assigned task in his or her assigned frame. This could be a math problem, a response to an open-ended question, a text to read and mark up. The sky is your limit. As students work, you can scroll through the frames to monitor. You can even add live feedback.
Annotate any digital text: Insert an image file of the passage or text you want to use. Allow students to highlight or mark their responses on the text.
Make any worksheet interactive: Upload the image file into the background of the jam. Get creative with adding additional images. For example, if the worksheet deals with fractions, add images of cake slices that students can move around.
Exit tickets: Pose a question on a jam and have students add text boxes to respond.
Share group work: Create one frame for each group. Add a text box at the top of each frame to label it with the names of the group members. Each group can complete its assigned task on its assigned frame. In the end, students can scroll through each others’ boards to view work from other groups.
Use color-coded sticky notes: Create a key that shows what each sticky note represents. For example, when annotating a text, a blue sticky note could indicate a question while a pink sticky note could indicate an important statement or main idea.
Create a response template to use with any assignment: Create a grid with a sticky note for each student in your class. Type each student’s number on a sticky note. Each student will respond in the sticky note that corresponds with his or her number. Leave a place to insert an image or text that students will look at or read and respond to.
Challenge: Choose 1 item from the list above to try with your students TODAY.
FREE TEMPLATES
If you want some help getting started, try out some of these FREE templates:
Looking for more Jamboard ideas? Hop over here!
