How to Share Jamboard with Your Students to Engage and Collaborate

Once you know your way around Google Jamboard, you’ll probably feel ready to get a little wild and share a jam with your students. (And if you don’t know your way around them yet, I’ve got you covered with a simple guide to getting started with Google Jamboard.)
Let’s talk about some easy ways to use Jamboard.
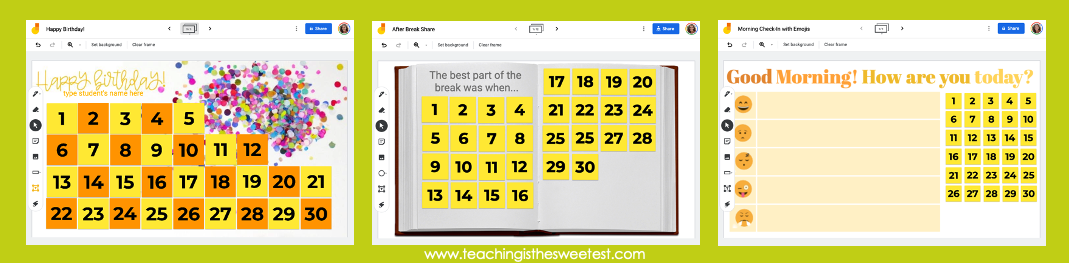
Take birthdays for example. Classmates can collaborate to create a meaningful digital birthday card on a jam.
Sharing after a break from school is another way to use Jamboards.
Morning check-ins are perfect for Jamboard, too. Students can indicate how they’re feeling first thing when they get to school.
These examples touch on a FEW of the many ways to connect digitally in a meaningful way with your students. I haven’t even skimmed the surface of how you could use Jamboard for reading, science, social studies, and math.
WHAT YOU NEED TO KNOW BEFORE YOU SHARE A JAM
Before you share a jam, you should be aware that when you give editing rights to your students, they will have FULL editing rights. This means that they’ll be able to do everything with the jam that you can do. They can erase, move, change, drag, delete, etc. (accidentally…. or purposefully…) anything you or others have added.
This may take some getting used to if you’re conditioned to working in Google Slides where you can lock certain items in the master or background. So, again, it’s helpful to think of Google Jamboard as a digital whiteboard. Students can erase, move, change, drag, and delete (accidentally…. or purposefully) pretty much anything you put on a whiteboard in real life, too.
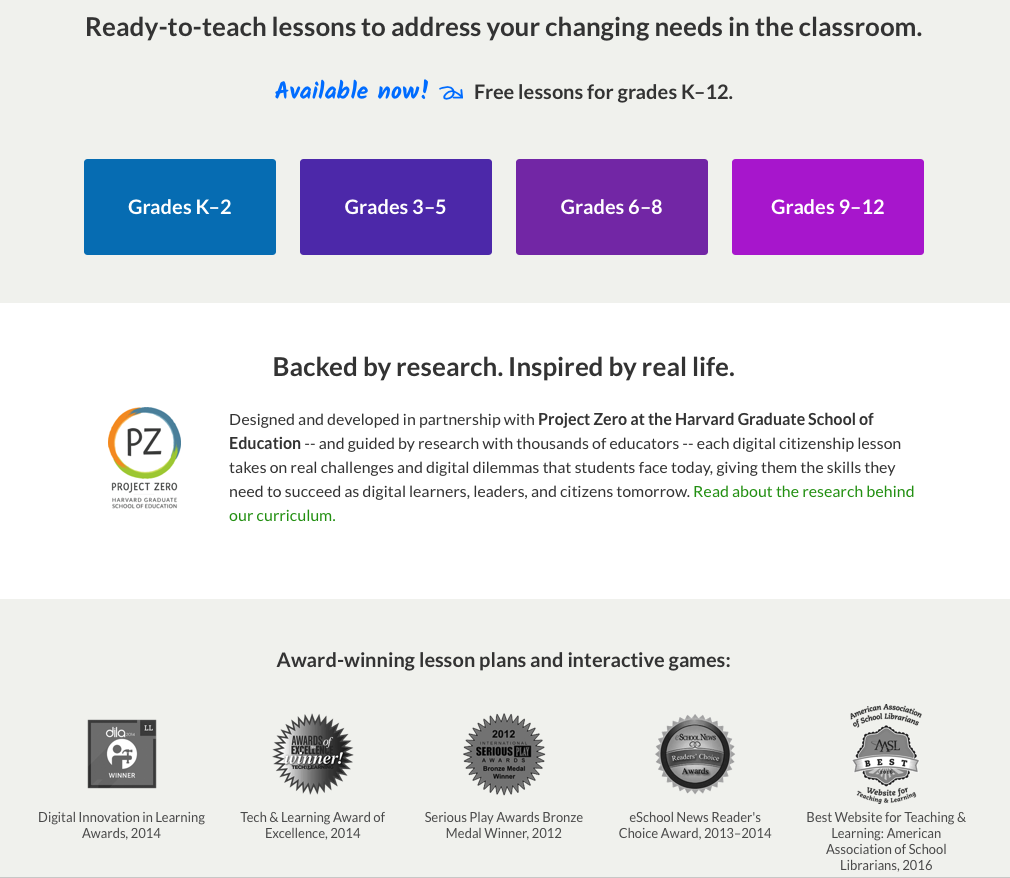
Using Google Jamboard creates a perfect opportunity to discuss digital citizenship and what it means to use technology responsibly. Common Sense Education has phenomenal FREE lessons for teaching digital citizenship.
You should note that when you’re sharing a jam with students, you can choose to give them view only access or full editing rights. Depending on your purpose, you may use one or both of these features. For example, you may restrict their access to View Only while you demonstrate on a jam. Then, you could change their access to give them editing rights once you’re ready for them to collaborate.
HOW TO SHARE A JAM WITH YOUR STUDENTS
Let’s dive into two quick ways to share a Google jam with your students.
Before you begin, you’ll need to open the jam that you want to share with your students. Then, you can follow either of the step-by-step guides below.
A: You can directly share and invite your students to collaborate:
Click the blue SHARE button in the upper right corner.
Below the heading “Share with people and groups", type your students’ addresses.
Select “Viewer” or “Editor” from the drop-down menu.
Type a message with directions that your students will see when they are notified that the file has been shared with them.
Click the blue DONE button in the lower right corner.
B: You can change the share settings so that anyone with the link can edit:
Click the blue SHARE button in the upper right corner.
Below the heading “Get link”, click the blue “Change” button.
If you only want students to have viewing rights, skip down to the next step. If you want students to have full editing rights, find the dropdown menu next to the word “Viewer” and change it to “Editor.” Anyone with the link will be able to edit the jam.
Next to the green link bar, click the “Copy link” button to copy the link to your clipboard.
Then, click the blue DONE button in the lower right corner.
Paste the jam link into a shared Google Slide, Doc, or Zoom chat log.
Pro tip: Do you want each student to have his or her own copy? Go to the end of the link you copied. Delete everything after the last “/” and type “copy”. When students click this new link, a separate copy of the Jamboard will be added to their Google Drives. Be sure to have them “Share” the Jamboard back with you if you want to be able to see their work.
More and more digital tools are becoming available to help students interact and respond digitally. Google Jamboard is one great tool to utilize!
Challenge: Create 1 jam to share with your students. Instruct each student to use the toolbar to create a sticky note to answer one question.

Grab the FREE Happy Birthday Jam to try out with your next classroom birthday celebration!